
A solar street light project can pass a daytime visual inspection and still fail after handover. Common causes include an unsuitable foundation, shadows on the panel, incorrect controller settings, poor pole alignment, missing surge protection, or a lighting layout that was never checked at night. For an EPC contractor, a reliable solar street light installation therefore starts with documented site data and ends with measurable acceptance evidence.
This checklist covers road, school, industrial compound and public-facility projects in Africa. It connects civil, lighting, energy and supplier documentation before handover.
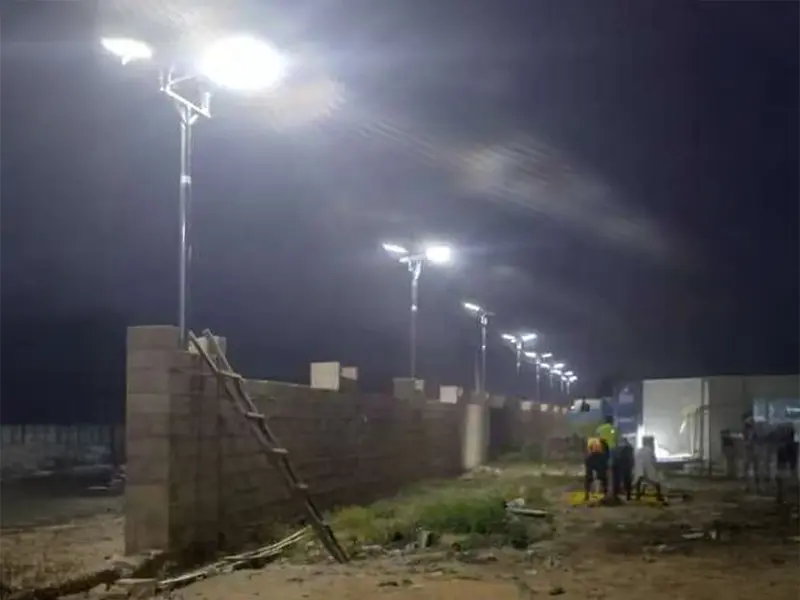
1. Freeze the Design Inputs Before Civil Work Starts
Do not release foundations merely because the quotation lists lamp wattage and pole height. First, confirm road width and class, lane arrangement, mounting height, pole setback, installation pattern, operating schedule, autonomy, site coordinates and obstructions. The CIE 115 road-lighting framework distinguishes classes for motorized traffic, conflict areas and pedestrian areas. An access road, market junction and school path should not automatically receive the same layout.
For quotation review, ask the solar lighting supplier to show how the proposed panel, battery, LED source and controller support the requested lighting mode. A complete submission should also identify the luminaire distribution, mounting method, recommended tilt or orientation, and the assumptions used for cloudy-day operation.
Use an energy balance, not the printed lamp wattage alone
Estimate daily demand as LED power multiplied by equivalent full-power operating hours. If the controller dims the lamp, calculate each stage separately. Usable battery energy depends on nominal watt-hours, permitted depth of discharge and system losses. Expected PV energy depends on panel power, solar resource, orientation, shading and design derating. Request the supplier’s calculation; equal advertised wattage does not prove equal autonomy.
2. Choose the Structure That Fits Installation and Maintenance
WHC Solar’s product materials divide solar street lights into integrated and split configurations. An all-in-one solar street light combines the panel, battery, LED and controller in a compact assembly. It can reduce field wiring. A split design gives the project team more freedom to position the panel and service individual components. Neither format is automatically best for every road.
| Decision Point | Integrated Unit | Split System | Evidence to Request |
|---|---|---|---|
| Site installation | Fewer external components and connections | More component positioning and field wiring | Assembly drawing, torque values and wiring diagram |
| Solar access | Panel direction follows the luminaire assembly | Panel orientation can be adjusted separately | Site shading map and approved orientation |
| Maintenance | Compact replacement procedure | Individual components may be accessed separately | Exploded view, spare-parts list and service method |
| Project acceptance | Confirm bracket angle, controller mode and complete-unit serial number | Confirm each component rating, cable route and enclosure sealing | Approved datasheets, labels and commissioning records |
3. Check Foundations, Poles and Alignment
The foundation must be designed from the pole geometry, luminaire and panel wind area, local wind actions, soil conditions, groundwater, corrosion environment and the applicable civil standard. A catalogue image is not a structural design. The EPC’s qualified civil or structural engineer should approve the foundation, reinforcement or anchor cage, concrete specification and curing requirement.
Before the concrete pour, verify the anchor-bolt template, cable entry, finished-ground level and pole orientation. After curing, inspect concrete defects and confirm that the flange seats correctly. During erection, record pole verticality and fastener torque according to the approved supplier or engineering instructions. Do not use the anchor nuts to compensate for a badly levelled foundation.
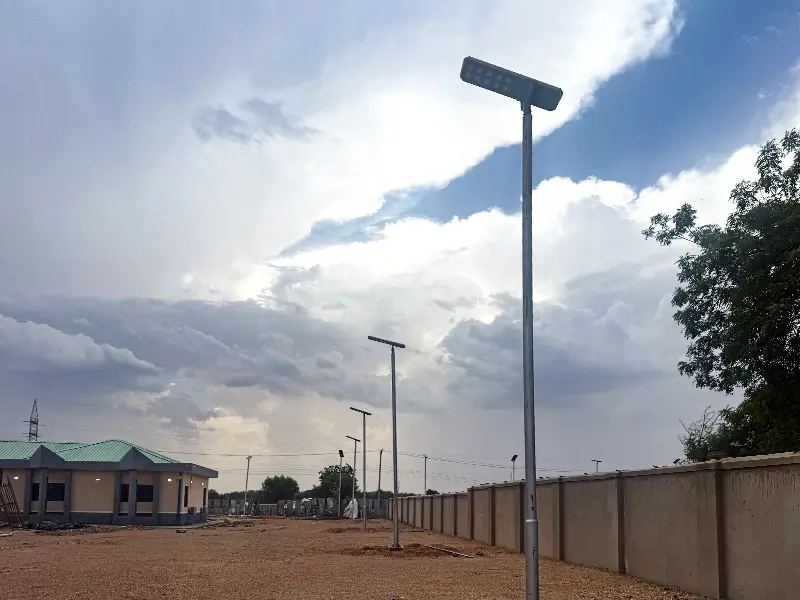
4. Verify Pole Spacing With a Lighting Layout
Pole spacing cannot be selected from lamp wattage alone. It also depends on mounting height, boom length, road width, installation pattern, optical distribution, target lighting class and surrounding obstructions. Ask for a photometric calculation or an approved lighting layout before the team repeats one spacing across the entire route.
During night testing, measure illuminance at the agreed grid points and check dark zones, excessive glare and junction coverage. The contract should state whether acceptance is based on illuminance, luminance, uniformity or another locally required criterion. Record the meter model, calibration status, weather and test time so the result can be repeated.
A typical town road may prioritize uniform roadway coverage. A school or clinic compound may need better pedestrian and entrance visibility. An industrial yard may require attention around gates, loading areas and security points. These are typical design situations, not claimed project results.
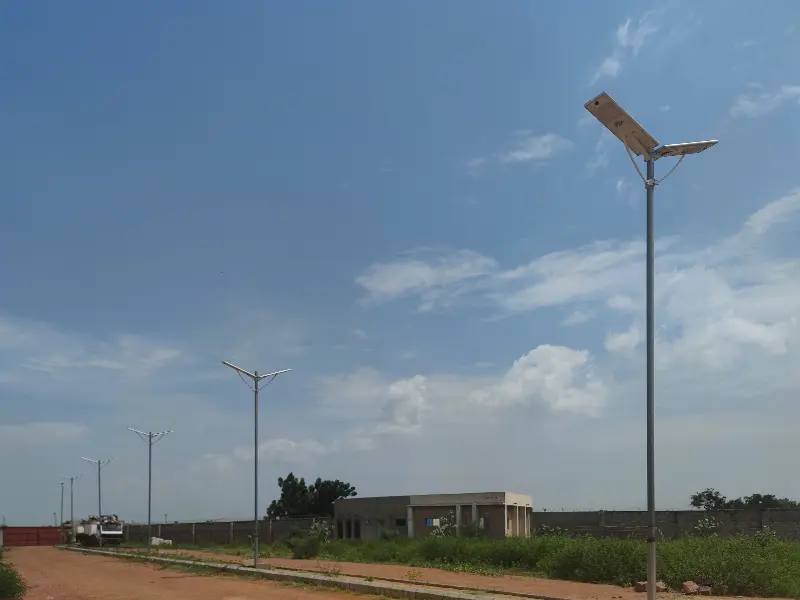
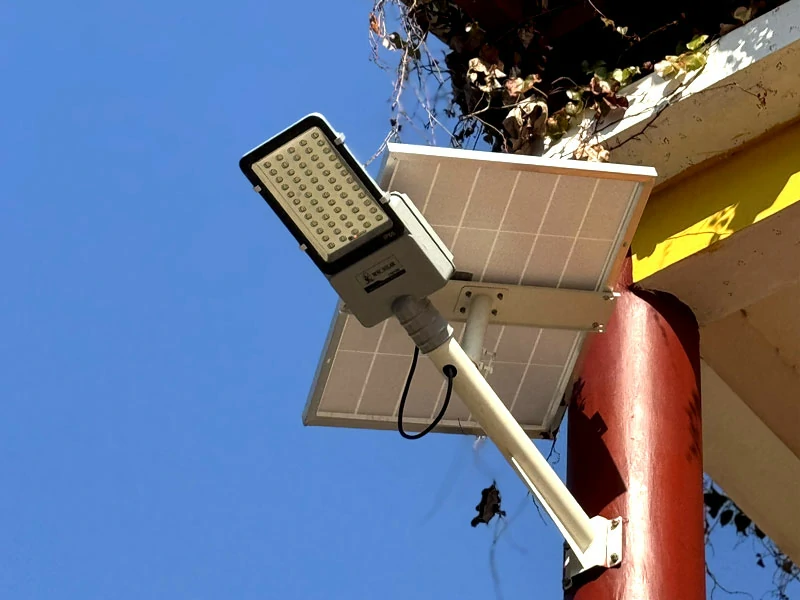
5. Inspect the Solar Module, Battery, Controller and Luminaire
Before lifting the equipment, compare every label with the approved bill of materials. Inspect the solar module for glass, frame, junction-box and cable damage. Confirm correct polarity. Ensure the panel will not be shaded by trees, buildings, utility lines or the pole itself during important charging hours.
Next, verify the battery type and rated energy, controller model, LED luminaire model, connectors and enclosure condition. The IEC TS 62257-12-1 framework explains how product specifications, quality requirements and test evidence can support the evaluation of off-grid lighting appliances. For project procurement, this means a supplier should provide more than an unsupported wattage claim.
Use the controller schedule approved for the project. Confirm dusk activation, dawn shutdown, staged dimming, motion-sensor behavior where applicable, low-voltage protection and recovery logic. Keep the final settings in the handover record. Contractors can review WHC Solar’s solar street light range and solar lighting solutions when preparing the equipment schedule.
6. Treat Lightning and Surge Protection as a Site Design
A lightning arrester on a quotation does not complete the protection design. The engineer should assess lightning exposure, pole earthing, bonding, cable routing and surge-protective devices under local regulations. The IEC 62305-1 lightning-protection principles provide a recognized framework for protecting structures, installations and people.
At installation, verify earthing connections and protect conductors from loose joints, sharp bends and corrosion. Where the design requires surge protection, confirm the device location and rating against the approved drawing. Then document the earthing or continuity test method and result. Final values must follow the project’s electrical design and local authority requirements; they should not be copied from another site.
7. Solar Street Light Installation: Night Commissioning and Handover
A proper solar street light installation needs at least one controlled nighttime inspection. Confirm that every unit switches on, follows the correct lighting program and illuminates the intended area. Check pole identification, abnormal flicker, unexpected shadowing, controller alarms and visible damage. Where the contract requires an autonomy test, agree on the method and acceptance threshold before the test begins.
The handover package should include approved drawings, foundation records, serial-number registers, controller settings, test sheets, photographs, warranty terms, spare-parts list, maintenance schedule and fault-reporting process. Train the owner’s representative to identify shading, recognize alarms and report failures without changing protected settings.
For a practical project reference, see the WHC solar street lighting case in Mali. The case is useful for understanding the application context; however, each new project still requires its own road survey, lighting design and civil approval.
8. What to Send a Solar Street Light Supplier for a Project Quote
To receive a useful proposal, send the road or site drawing, coordinates, road width, required lighting class, proposed pole height, installation pattern, operating schedule, cloudy-day requirement, quantity, wind and soil information, applicable standards, delivery destination and requested handover documents. If some inputs are missing, ask the supplier to list assumptions clearly instead of hiding them inside a model number.
WHC Solar supports solar-lighting configuration for EPC contractors and project buyers, including system comparison, component scheduling and pre-shipment documentation.
Conclusion
The most reliable solar street light installation is not defined by fast pole erection. It is defined by traceable design inputs, approved foundations, verified spacing, protected electrical connections, nighttime measurements and a complete handover file. These controls help African EPC contractors reduce rework and make supplier accountability clearer.
Frequently Asked Questions
Can pole spacing be decided from LED wattage?
No. Wattage is only one input. Mounting height, road width, optics, lighting class, installation pattern and obstructions also affect spacing. Use an approved photometric layout.
Should every solar street light foundation use the same dimensions?
No. A qualified engineer should consider the pole, wind area, soil, groundwater, corrosion environment and local structural requirements. The supplier’s drawing is an input, not a substitute for site approval.
What should be checked during nighttime commissioning?
Check switching, controller modes, dimming stages, coverage, dark areas, glare, alarms and the agreed illuminance or luminance criteria. Record the test conditions and measuring equipment.
Does every project need lightning protection?
The protection method should come from a site-specific risk assessment and local requirements. The design may involve earthing, bonding, conductor routing and suitable surge-protective devices.
What documents should the EPC receive at handover?
Request approved and as-built drawings, serial-number records, controller settings, test reports, photographs, warranty terms, spare-parts information, maintenance instructions and the fault-reporting route.
Request a Project Configuration
Send WHC Solar your road drawing, pole and road dimensions, lighting requirement, operating schedule, project quantity and delivery destination. Contact WHC Solar to request a solar street light configuration, installation-document checklist and B2B quotation for your African project.